
The Vercel AI SDK gives users a simple yet powerful way to integrate AI into application using various providers and LLMs.
A popular use of AI is in chat based contexts, where the user and LLM can interact in a conversational manner. This can be used for a variety of purposes, such as customer service, chatbots, and more. Vercel makes this particular use case easy with the useChat hook.
Here's how simple Vercel make it to integrate AI into a Next.js app:
// app/chat.tsx
'use client';

import { useChat } from 'ai/react';

export function Chat() {
  const { messages, input, handleInputChange, handleSubmit } = useChat();

  return (
    <>
      {messages.map((message) => (
        <div key={message.id}>
          {message.role === 'user' ? 'User: ' : 'AI: '}
          {message.content}
        </div>
      ))}

      <form onSubmit={handleSubmit}>
        <input name="prompt" value={input} onChange={handleInputChange} />
        <button type="submit">Submit</button>
      </form>
    </>
  );
}
The useChat hook has some sensible defaults, including the location of an API route to handle the AI logic:
// app/api/chat/route.ts
import { openai } from '@ai-sdk/openai';
import { convertToCoreMessages, streamText } from 'ai';

export async function POST(req: Request) {
  const { messages } = await req.json();

  const result = await streamText({
    model: openai('gpt-4-turbo'),
    system: 'You are a helpful assistant.',
    messages: convertToCoreMessages(messages),
  });

  return result.toAIStreamResponse();
}
However, it doesn't provide a way to store the chat messages so when users resume a conversation.
This is where Turso comes in.
#Setting up Turso
If you don't already have a database, you can get one at sqlite.new.
If you used the sqlite.new link, you'll already have the table because we loaded a SQL dump. If you're following along with an existing database, connect to your database using the turso db shell and run the following SQL:
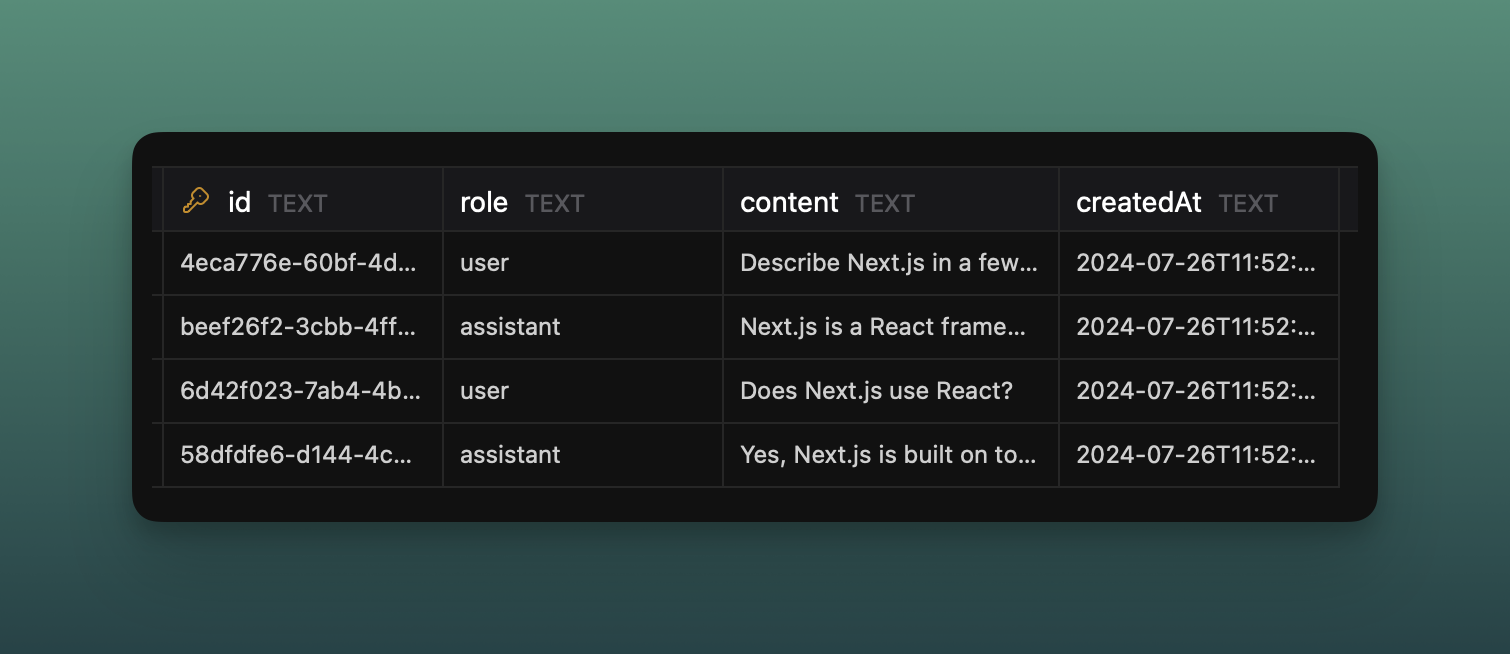
CREATE TABLE messages (
  id TEXT PRIMARY KEY,
  role TEXT,
  content TEXT,
  createdAt TEXT
);
Install the @libsql/client:
npm install @libsql/client
Create a db instance using createClient:
import { createClient } from '@libsql/client';

const db = createClient({
  url: 'libsql://...',
  authToken: '...',
});
#Retrieving chat messages
Let's begin by retrieving the existing chat messages from the database.
Inside your application (e.g. app/page.tsx), import the Message type from the ai package and define a MessageRow interface to represent the database rows:
// app/page.tsx
import type { Message } from 'ai';
import { createClient } from '@libsql/client';

import { Chat } from './chat';

const db = createClient({
  url: 'libsql://...',
  authToken: '...',
});

interface MessageRow {
  id: string;
  role: string;
  content: string;
  createdAt: string;
}
Now we can query (also inside app/page.tsx) the database and transform the rows into the Message type:
// app/page.tsx
export default async function Page() {
  const result = await db.execute('SELECT * FROM messages');
  const rows = result.rows as unknown as Array<MessageRow>;

  const messages = rows.map(({ id, role, content, createdAt }) => ({
    id,
    role: role as Message['role'],
    content,
    createdAt: new Date(createdAt),
  }));

  return <Chat initialMessages={messages} />;
}
We're currently passing initialMessages to the <Chat /> component we defined earlier. Let's update it to accept this new prop:
// app/chat.tsx
'use client';

import type { Message } from 'ai';
import { useChat } from 'ai/react';

export function Chat({ initialMessages = [] }: { initialMessages: Message[] }) {
  // ...
}
Now pass initialMessages to the useChat hook:
// app/chat.tsx

export function Chat({ initialMessages = [] }: { initialMessages: Message[] }) {
  const { messages, input, handleInputChange, handleSubmit } = useChat({
    initialMessages,
  });

  return (
    <>
      {messages.map((message) => (
        <div key={message.id}>
          {message.role === 'user' ? 'User: ' : 'AI: '}
          {message.content}
        </div>
      ))}

      <form onSubmit={handleSubmit}>
        <input name="prompt" value={input} onChange={handleInputChange} />
        <button type="submit">Submit</button>
      </form>
    </>
  );
}
#Storing user messages
We're going to a cheat a little bit for the purposes of this tutorial, and assume the last message sent to the /api/chat route is not already in the database, and is what the user typed.
// app/api/chat/route.ts
export async function POST(req: Request) {
  const { messages } = await req.json();

  const lastUserMessage = messages[messages.length - 1];

  const result = await streamText({
    model: openai('gpt-4-turbo'),
    messages,
  });

  return new StreamingTextResponse(result.toAIStream());
}
The lastUserMessage looks something like:
{ "role": "user", "content": "Why is Next.js so good?" }
If we refer back to the MessageRow type we had earlier, you'll notice two additional fields id and createdAt.
Let's make sure we create values for those:
// app/api/chat/route.ts
const id = crypto.randomUUID();
const createdAt = new Date().toISOString();
Now we can insert the message into the database:
// app/api/chat/route.ts
const id = crypto.randomUUID();
const createdAt = new Date().toISOString();

await db.execute({
  sql: 'INSERT INTO messages (id, role, content, createdAt) VALUES (?, ?, ?, ?)',
  args: [id, lastUserMessage.role, lastUserMessage.content, createdAt],
});
We're now successfully storing messages in the database that were sent by the user, but if we refresh the page, we won't see the message from OpenAI.

#Storing assistant messages
To store the response from OpenAI, we can pass an onFinish function to streamText():
const result = await streamText({
  model: openai('gpt-4-turbo'),
  messages,
  onFinish: async ({ text }) => {
    const id = crypto.randomUUID();
    const createdAt = new Date().toISOString();

    await db.execute({
      sql: 'INSERT INTO messages (id, role, content, createdAt) VALUES (?, ?, ?, ?)',
      args: [id, 'assistant', text, createdAt],
    });
  },
});
Now whenever we send a message, and the AI responds, both messages will be saved in the database.
If you refresh the page, or close it and return later, you will have the full message history in context.
#Going further
This tutorial covered how to use the existing conventions of useChat to add content to your database, however, in a real-world application, you may want to consider using a server action and process storing the message to the database in the background.
We also used a single table for storing messages for one chat. You can expand on this example by creating a table for "chats" or "sessions" and associating each message to that with a foreign key.
Turso gives you 500 databases for free to get started, so you can experiment with different schemas and data structures — as well as a database per user with multi-db schemas, or per chat!