Add comments to your Astro blog with AstroDB and Turso

The best way to learn new things is to just build something. In this tutorial, we'll create a simple commenting system that showcases some of Astro's newest features — Actions for form handling, Server Islands for progressive enhancement, and AstroDB with libSQL hosted on Turso for our database.
While a commenting system is a straightforward project, it's perfect for seeing how these features work together in a real-world scenario.
If you already have a blog with Astro, you can skip to the next step. But first, let's create a blog to get us started.
#Create or use an existing Astro blog
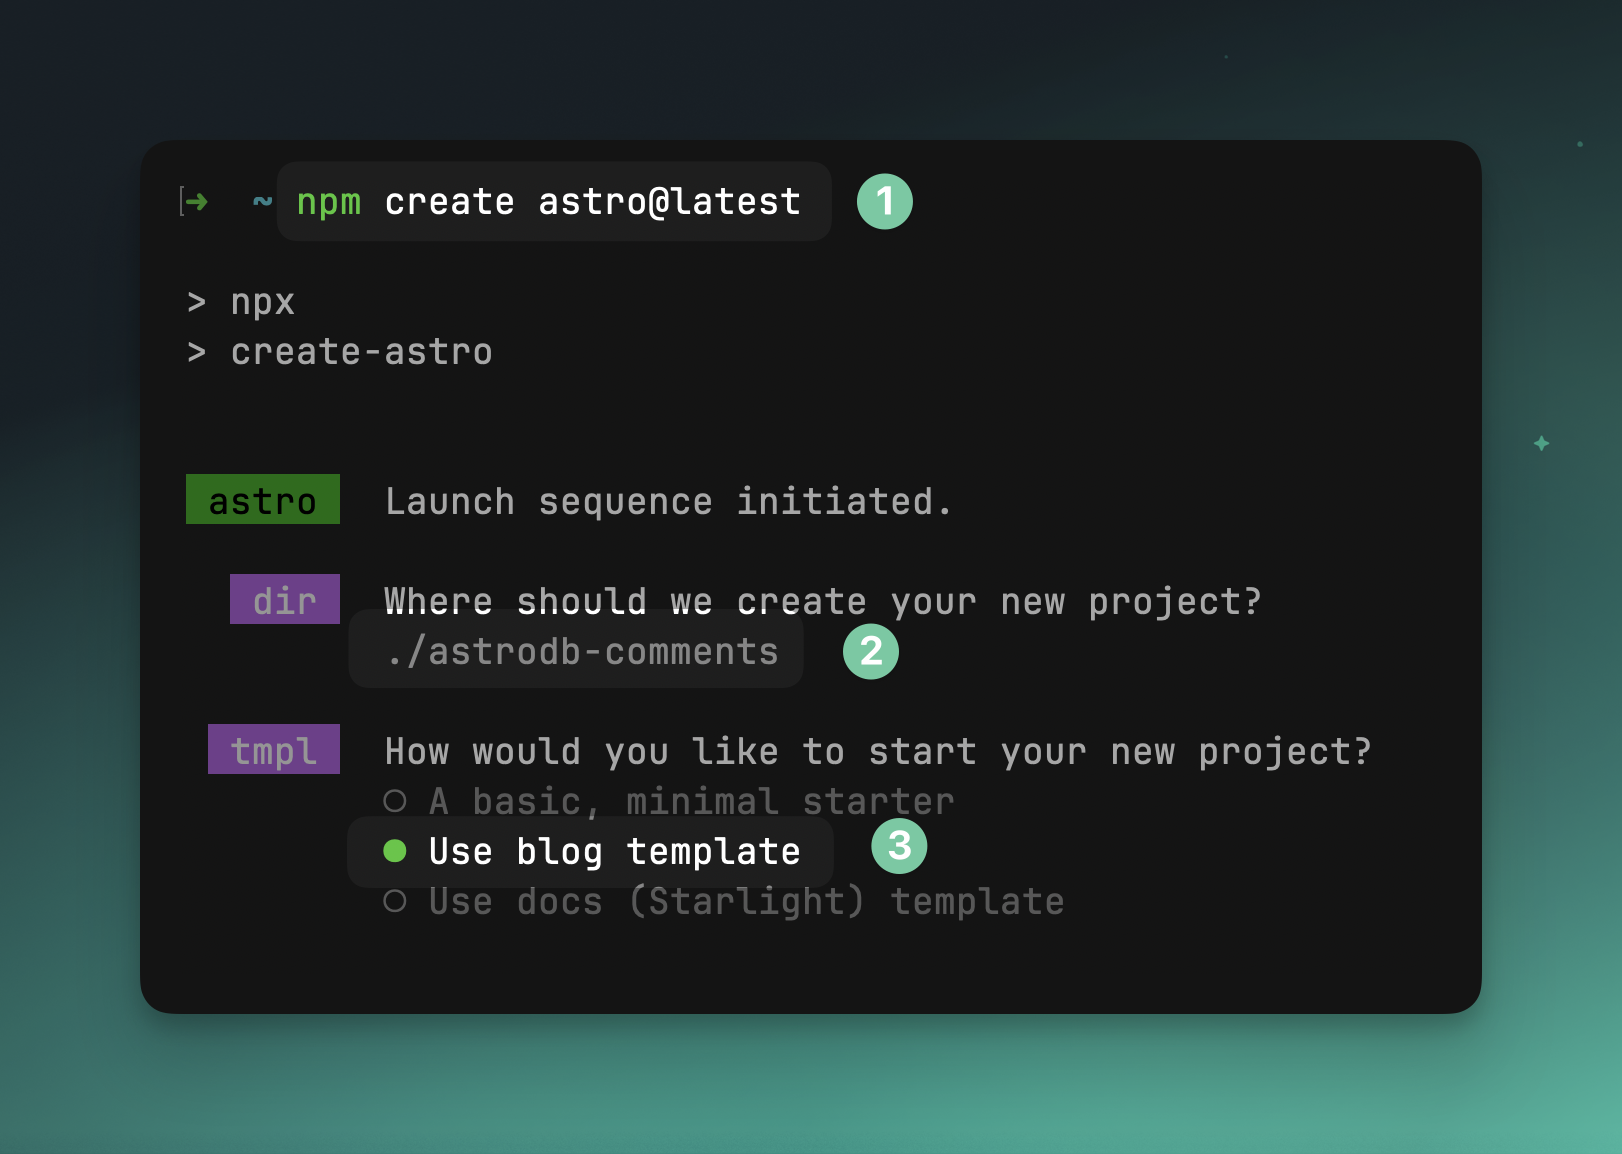
Astro makes it super easy with a pre-built with template ready to go. Run the following command to create your first Astro project:
npm create astro@latest
When asked, give your project a name, and select Use blog template.

This template uses content collections to render blog posts statically. We'll later change this so that pages are server-rendered, fetch data from the database, and handle form submissions with Astro Actions.
#Install and configure AstroDB
We will first need to setup and configure AstroDB to store comments for each blog post.
npx astro add db
Now open the newly created file db/config.ts, and add the following:
import { defineDb, defineTable, column } from 'astro:db';

const Comment = defineTable({
  columns: {
    id: column.number({ primaryKey: true }),
    postSlug: column.text(),
    name: column.text(),
    email: column.text(),
    message: column.text(),
    createdAt: column.date({ default: new Date() }),
  },
});

export default defineDb({
  tables: { Comment },
});
Now seed the database so we have something to visualise when implementing the view for our comments.
Open the file db/seed.ts, and add the following:
import { db, Comment } from 'astro:db';

export default async function () {
  await db.insert(Comment).values([
    {
      postSlug: 'first-post',
      name: 'Jamie',
      email: 'jamie@turso.tech',
      message: 'Great post!',
      createdAt: new Date(),
    },
    {
      postSlug: 'second-post',
      name: 'Jamie',
      email: 'jamie@turso.tech',
      message: 'Another great post!',
      createdAt: new Date(),
    },
  ]);
}
Notice that postSlug relates to two existing blog posts we have:
src/content/blog/first-post.mdsrc/content/blog/second-post.md
Now when the Astro dev server starts, it will automatically seed two posts into the database — a SQLite database containing a schema based on the db/config.ts we set previously.
Each time the server restarts, the database is recreated and seeded.
#Fetch comments and server render blog posts
We will now move onto fetching and displaying comments for each blog post.
Open src/routes/blog/[...slug].astro, and replace the contents with the following:
---
export const prerender = false;

import { getEntry, render } from "astro:content";

import BlogPost from "../../layouts/BlogPost.astro";
import Comments from "../../components/Comments.astro";

const { slug } = Astro.params;

if (!slug) {
  return Astro.redirect("/404");
}

const post = await getEntry("blog", slug);

if (!post) {
  return Astro.redirect("/404");
}

const { Content } = await render(post);
---

<BlogPost {...post.data}>
  <Content />
  <Comments postSlug={slug} />
</BlogPost>
In this file we have done a few key things:
- We have set
prerendertofalseso that the page is server-rendered - We have imported
getEntryandrenderfromastro:contentto fetch and render the blog post - Removed
getStaticPathssince pages will be server-rendered - Imported a new component
Commentswhich we will create next
Open astro.config.mjs, and add output: 'server' to the defineConfig object:
export default defineConfig({
  // ... existing settings
  output: 'server',
});
#Display comments on each blog post page
Create the file src/components/Comments.astro, and add the following:
---
import CommentsList from "./CommentsList.astro";

interface Props {
    postSlug: string;
}

const { postSlug } = Astro.props;
---

<div class="comments-section">
    <h3>Comments</h3>
    <div server:defer>
        <CommentsList postSlug={postSlug} />
    </div>
</div>
Finally, create the CommentsList component to fetch and render each of the comments. Inside the new file src/components/CommentsList.astro, add the following:
---
import { db, Comment, eq, desc } from "astro:db";

interface Props {
    postSlug: string;
}

const { postSlug } = Astro.props;

const comments = await db
    .select()
    .from(Comment)
    .where(eq(Comment.postSlug, postSlug))
    .orderBy(desc(Comment.createdAt));
---

<div class="space-y-4">
    {
        comments.map((comment) => (
            <div class="p-4 bg-gray-50 rounded">
                <div class="font-bold">{comment.name}</div>
                <div class="text-gray-600 text-sm">
                    {comment.createdAt.toLocaleDateString()}
                </div>
                <div class="mt-2">{comment.message}</div>
            </div>
        ))
    }
</div>
If you start the Astro dev server now, you should see comments displayed on each blog post page:
npm run dev

The above has some additional styling with Tailwind. If your project doesn't use tailwind, you can add it using npx astro add tailwind.
#Add a form to submit comments
We can so far view the comments generated by the seed.ts file, but we can't add new comments yet. Let's fix that by allowing users to submit new comments with Astro Actions.
Create the file src/actions/index.ts with the following:
import { defineAction } from 'astro:actions';
import { z } from 'astro:schema';
import { db, Comment } from 'astro:db';

export const server = {
  addComment: defineAction({
    accept: 'form',
    input: z.object({
      postSlug: z.string(),
      name: z.string().min(1, 'Name is required'),
      email: z.string().email('Valid email is required'),
      message: z.string().min(1, 'Comment cannot be empty'),
    }),
    handler: async ({ postSlug, name, email, message }) => {
      const comment = await db
        .insert(Comment)
        .values({
          postSlug,
          name,
          email,
          message,
          createdAt: new Date(),
        })
        .returning();

      return comment[0];
    },
  }),
};
This action will accept a form submission with the fields postSlug, name, email, and message. It will then insert a new comment into the database and return the newly created comment.
We will now create the CommentsForm component that submits the form data to the addComment action.
Create the file src/components/CommentsForm.astro, and add the following:
---
import { actions, isInputError } from "astro:actions";

interface Props {
    postSlug: string;
}

const { postSlug } = Astro.props;

const result = Astro.getActionResult(actions.addComment);
const inputErrors = isInputError(result?.error) ? result.error.fields : {};
---

<form method="POST" action={actions.addComment} class="mb-8">
  <input type="hidden" name="postSlug" value="{postSlug}" />

  <div class="mb-4">
    <label for="name">Name:</label>
    <input
      type="text"
      id="name"
      name="name"
      required
      class="w-full p-2 border rounded"
    />
    {inputErrors.name &&
    <p class="text-red-500">{inputErrors.name}</p>
    }
  </div>

  <div class="mb-4">
    <label for="email">Email:</label>
    <input
      type="email"
      id="email"
      name="email"
      required
      class="w-full p-2 border rounded"
    />
    {inputErrors.email &&
    <p class="text-red-500">{inputErrors.email}</p>
    }
  </div>

  <div class="mb-4">
    <label for="message">Comment:</label>
    <textarea
      id="message"
      name="message"
      required
      class="w-full p-2 border rounded"
    ></textarea>
    { inputErrors.message && (
    <p class="text-red-500">{inputErrors.message}</p>
    ) }
  </div>

  <button type="submit" class="px-4 py-2 bg-purple-600 text-white rounded">
    Add Comment
  </button>
</form>
Now inside src/components/Comments.astro, import CommentsForm and show it above or below the CommentsList:
---
import CommentsForm from './CommentsForm.astro';
import CommentsList from './CommentsList.astro';

interface Props {
  postSlug: string;
}

const { postSlug } = Astro.props;
---

<div class="comments-section">
  <CommentsForm postSlug={postSlug} />
  <CommentsList postSlug={postSlug} server:defer />
</div>
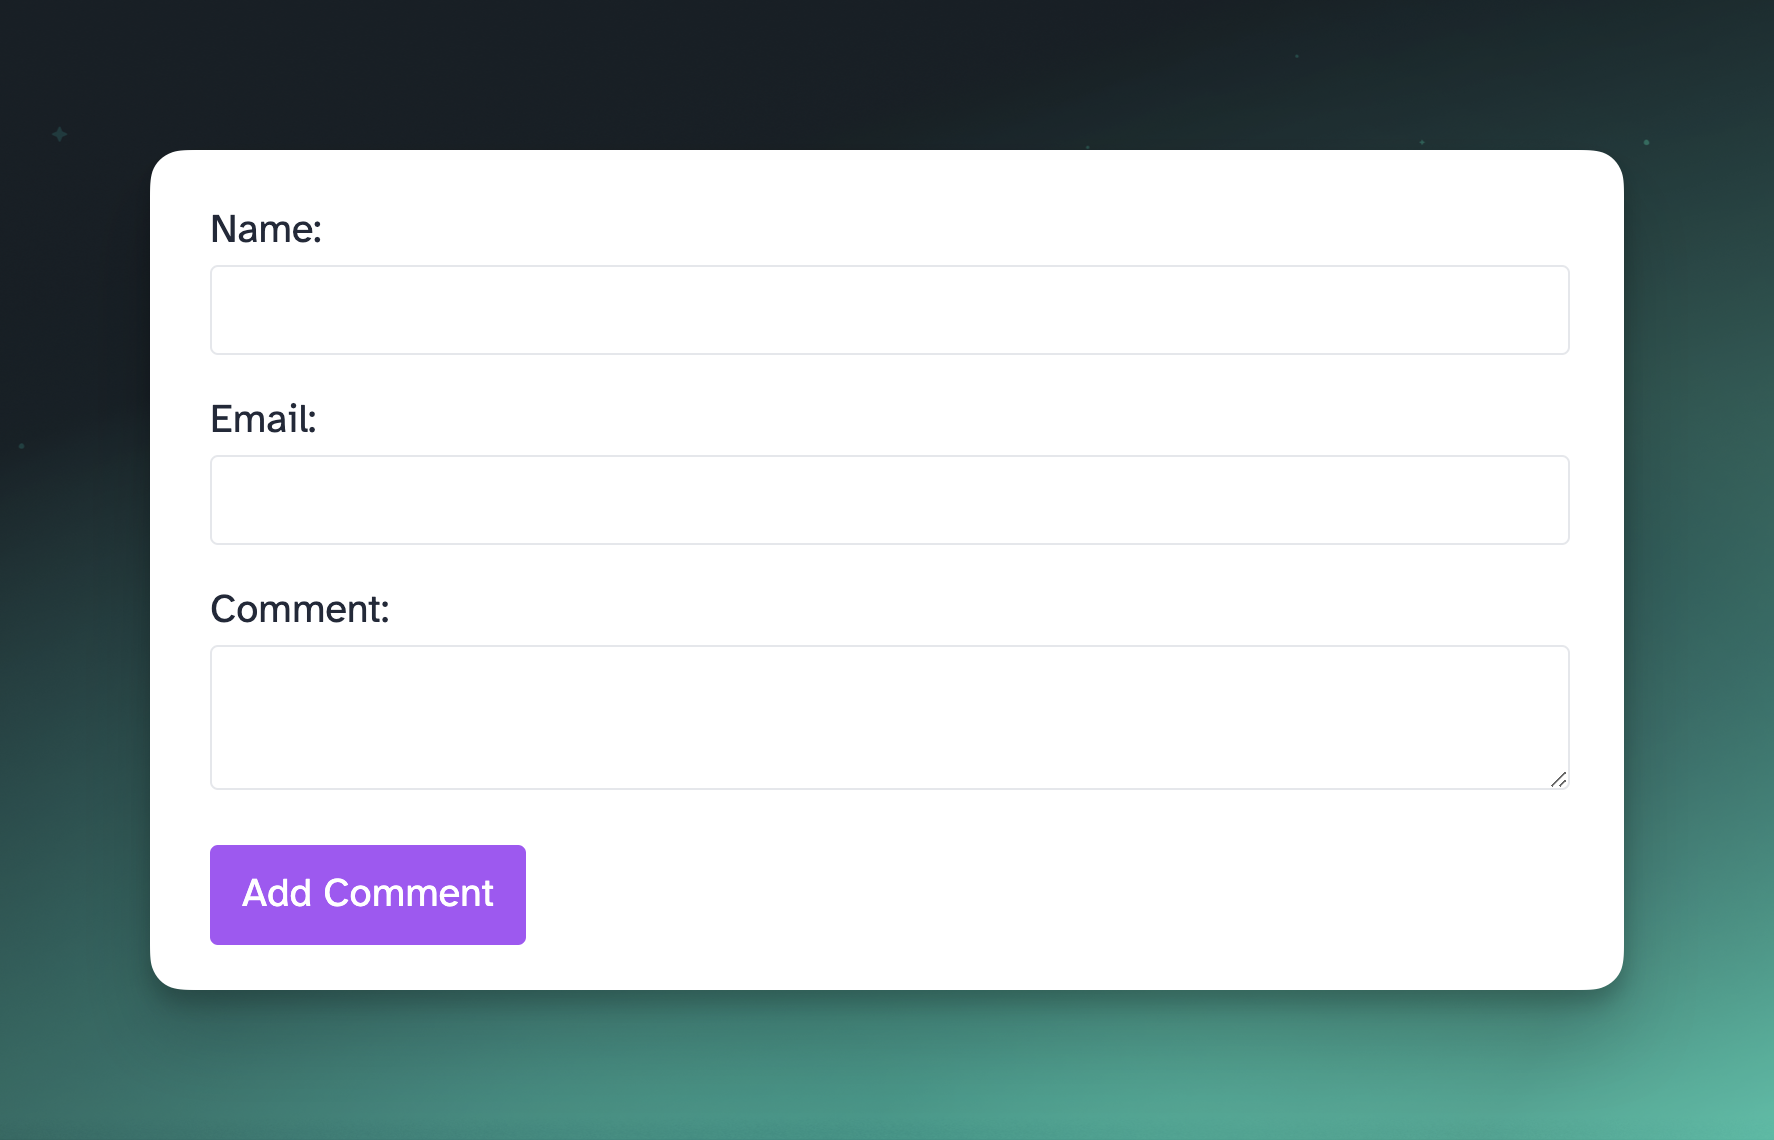
If you now visit a blog post, you should see a form to submit comments:

#Create a Turso Database
Before we can deploy, and receive comments, we will need to create a Turso database to store the comments.
Click the button below to create a new Turso Database from scratch:
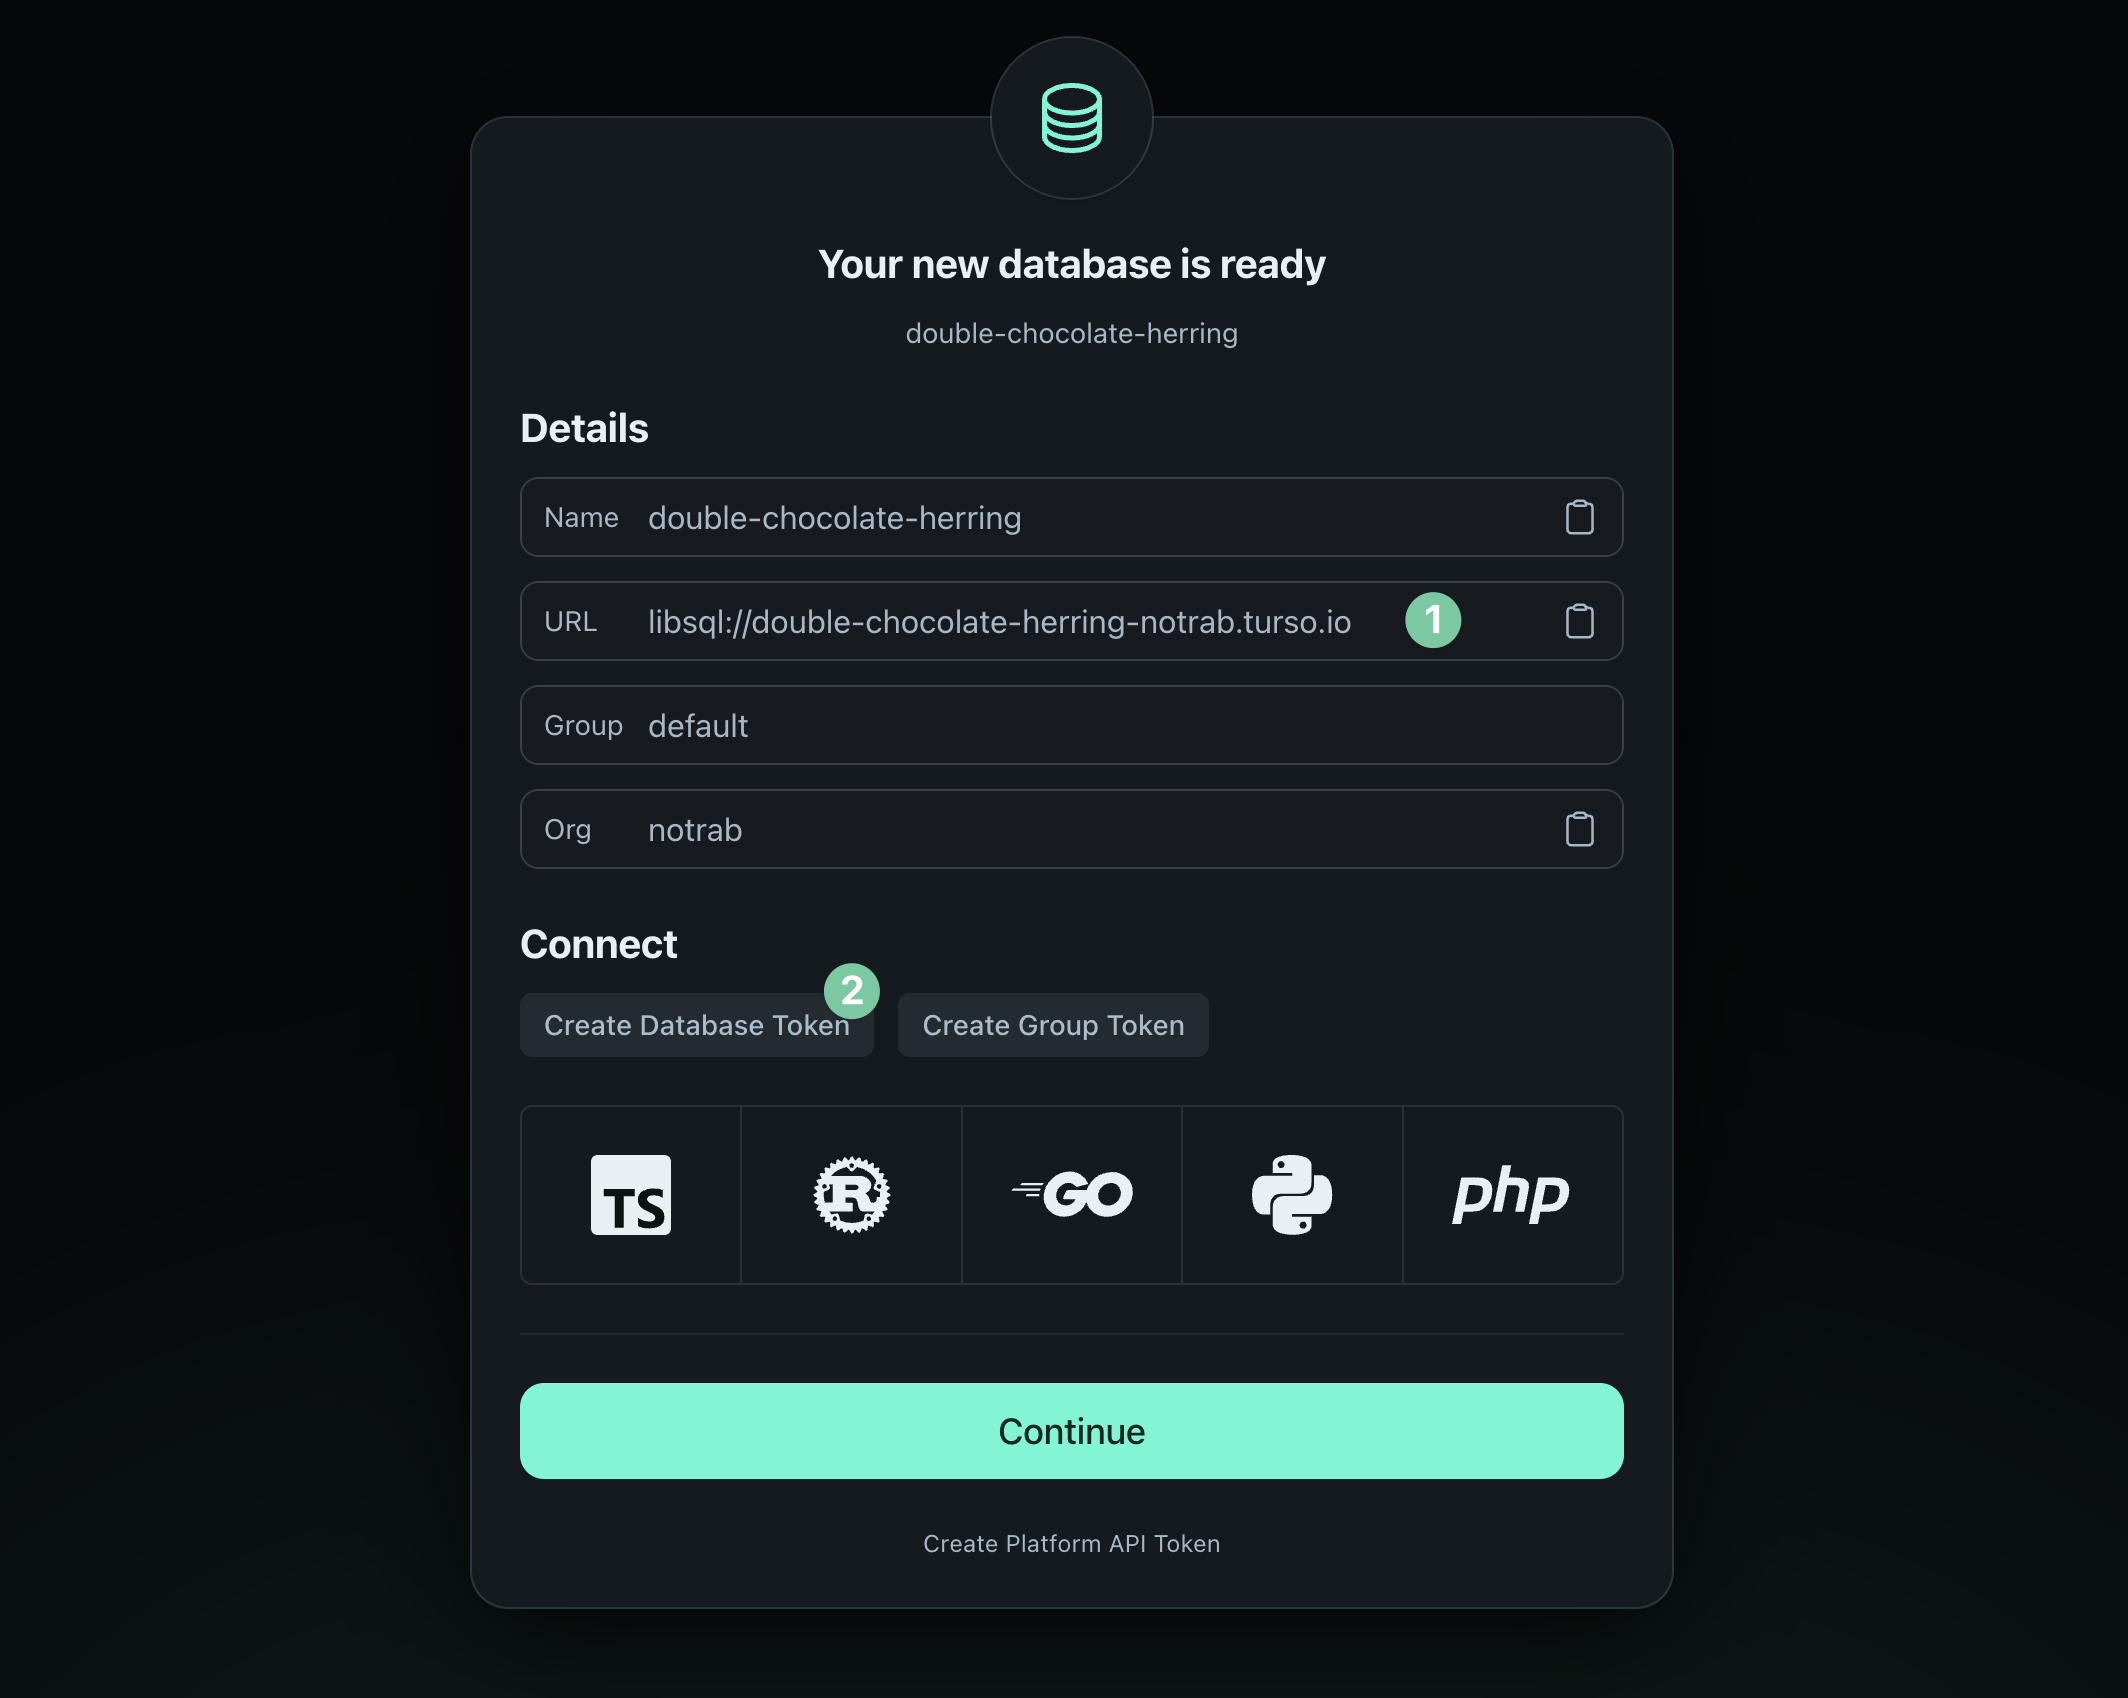
Once your database has been created, you should see something like this:

Create a new .env file in the root of your project with the following:
ASTRO_DB_REMOTE_URL— copy the URLASTRO_DB_APP_TOKEN— click Create Database Token
Now run:
npx astro db push --remote
You should see something like this on a successful push:
Pushing database schema updates...
Push complete!
Update the build script inside package.json to include the --remote flag:
{
  "scripts": {
    "build": "astro build --remote"
  }
}
#Deploy to Netlify
Finally, install the adapter for Netlify:
npx astro add netlify
This will automatically update the astro.config.mjs file and set the netlify adapter.
Make sure to follow the Astro documentation on how to deploy to Netlify.
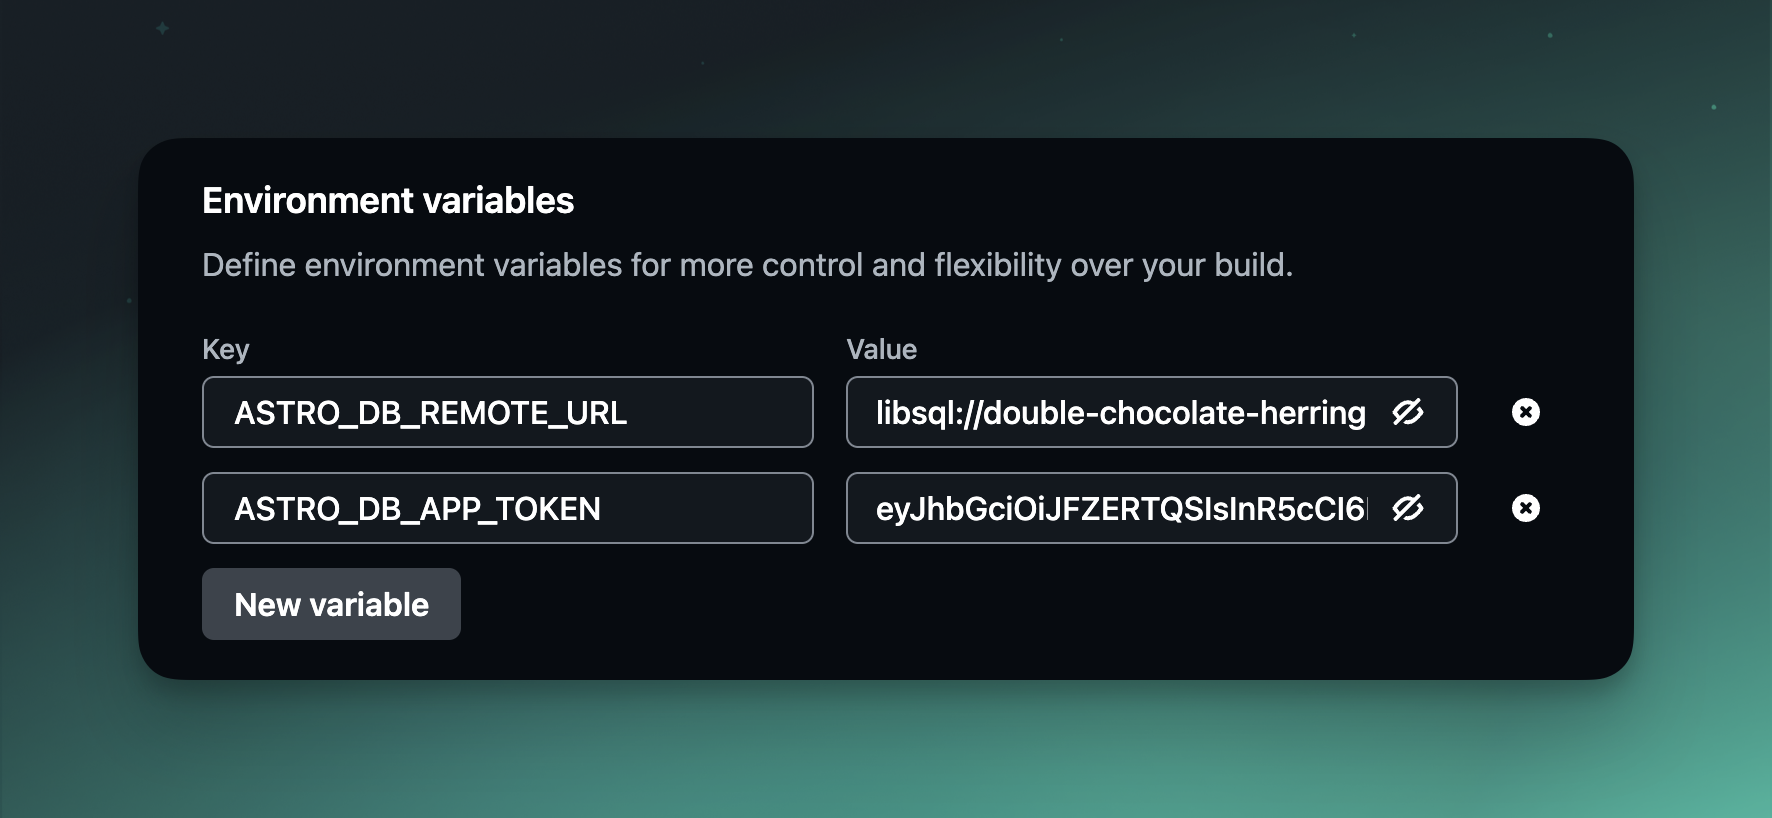
Don't forget, you will need to add the environment variables when deploying your site to Netlify:

#Try it out!
You can view the demo, and leave a comment on any of the blog posts to try it out.
All of the code is available on GitHub.
#Going further
This tutorial is just the beginning, but you could extend is so that comments require approval before being displayed, add pagination, or even add a like button to each comment. All of which is possible with AstroDB and Turso.
If you have any questions about Astro or Turso, join us on Discord.
